Exterior Remodeling
Become The Envy of the neighborhood
At S&K Remodeling, we specialize in exterior renovations that enhance your home’s curb appeal and structural integrity. Our experienced team offers a comprehensive range of services, including siding replacement, roofing, window and door installation, and patios. We work with high-quality materials and the latest techniques to ensure your home’s exterior looks stunning and stands up to the elements. Trust us to transform your outdoor space into a welcoming, durable extension of your home.
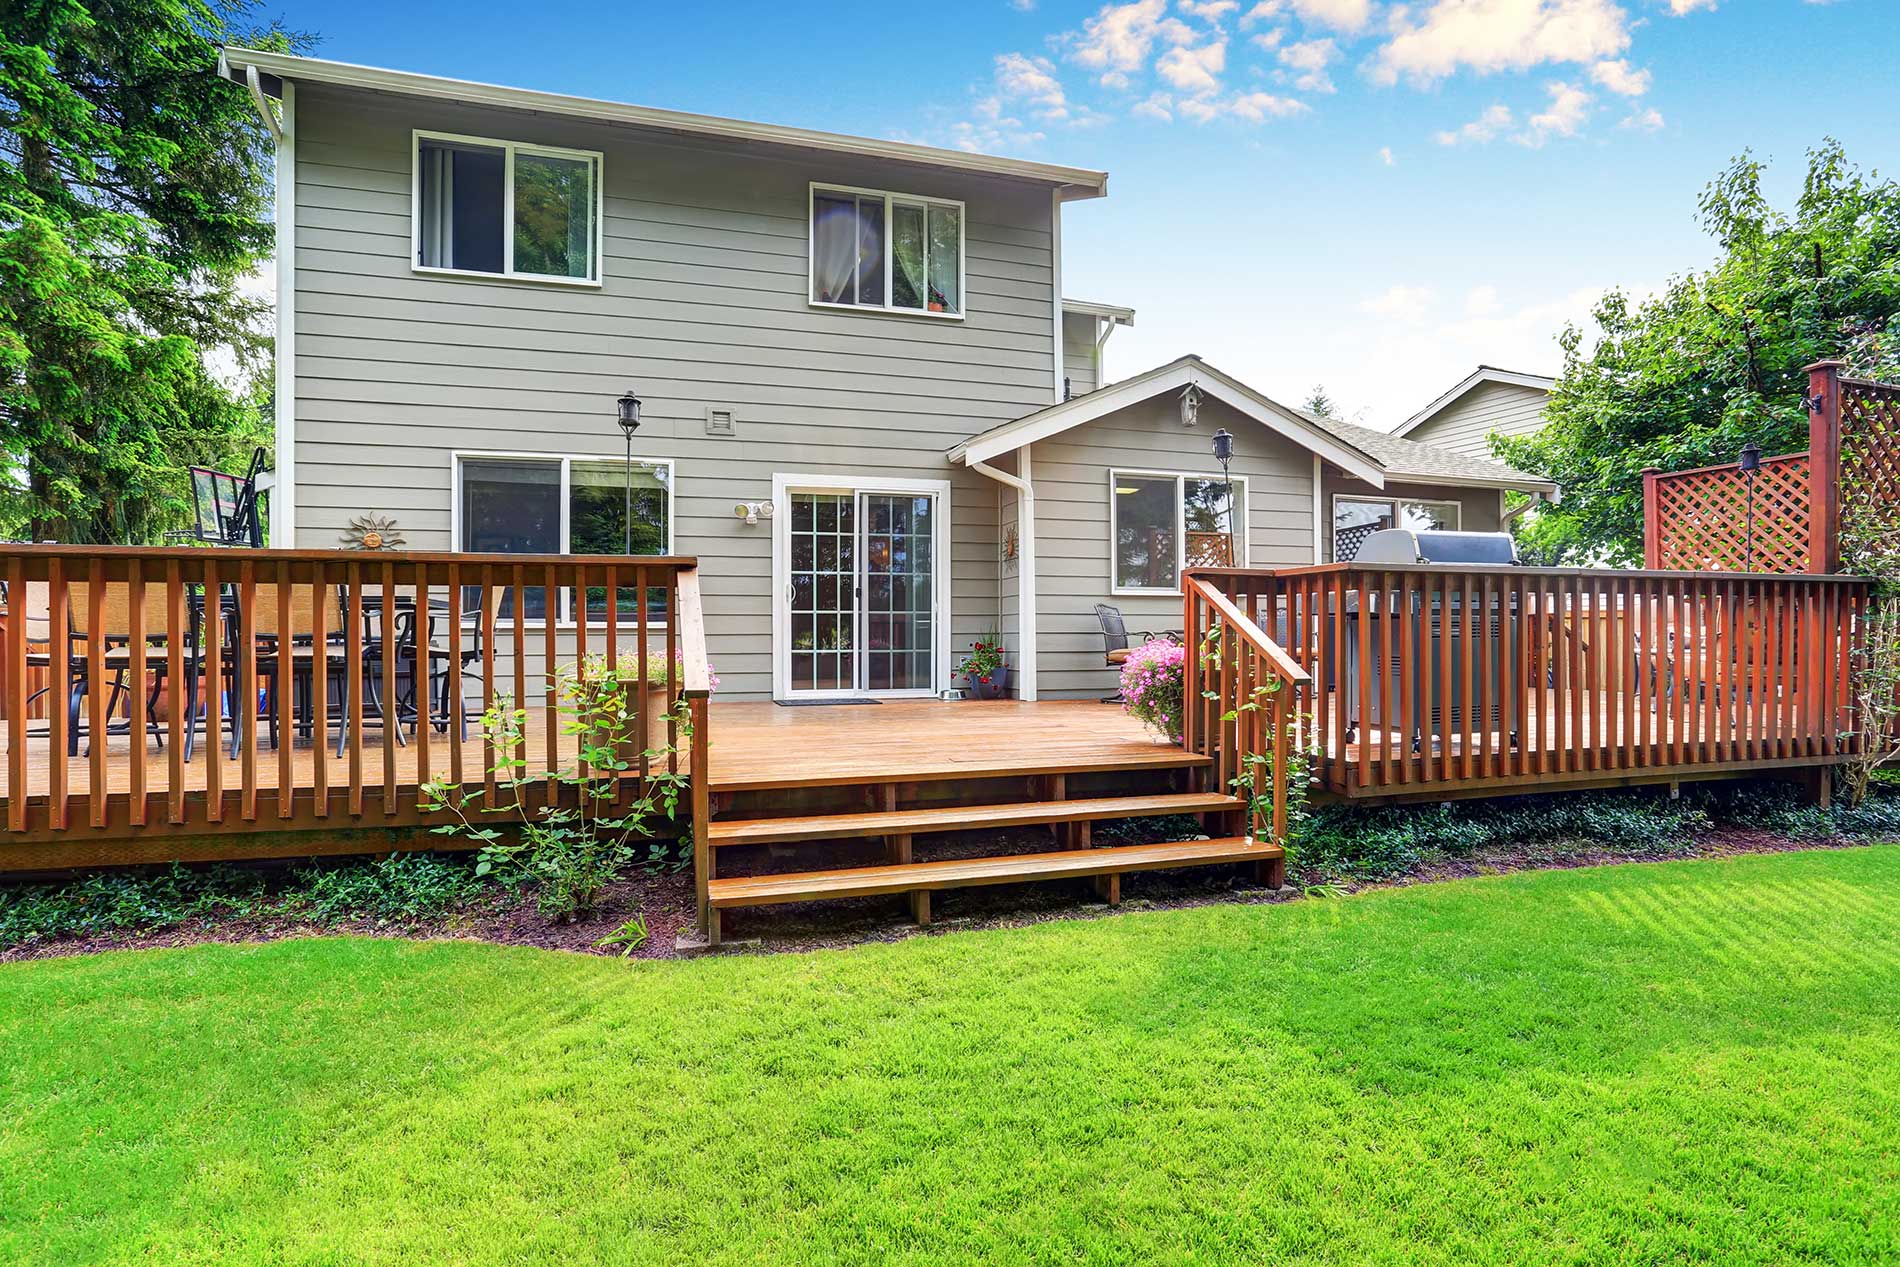
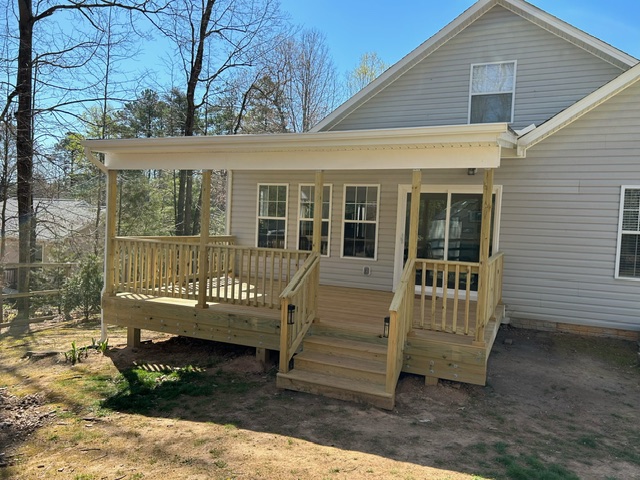
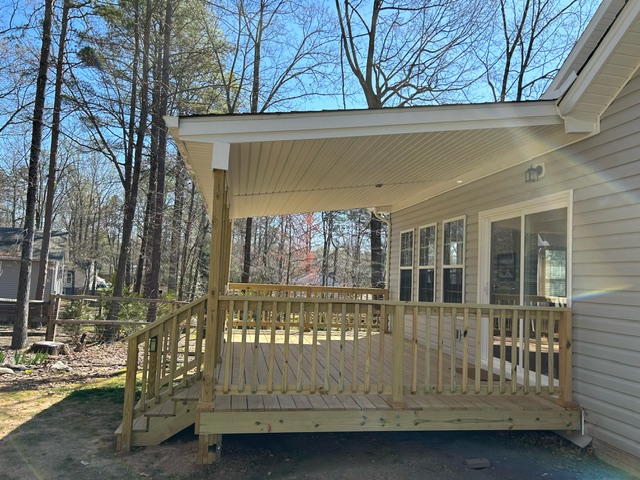
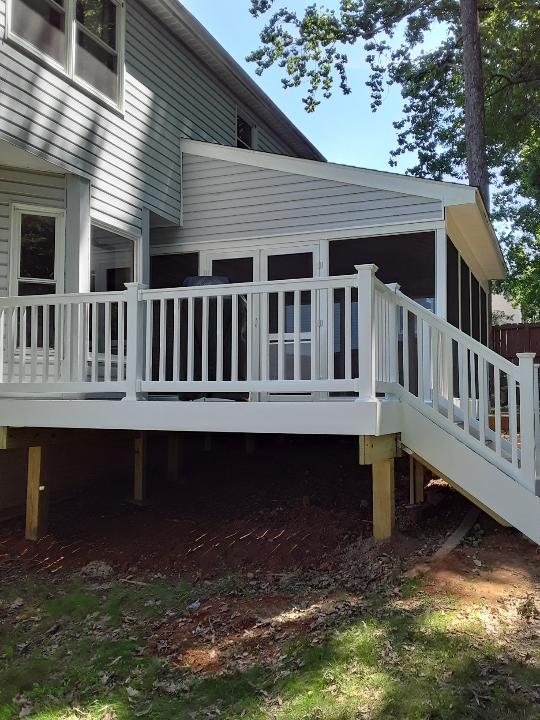
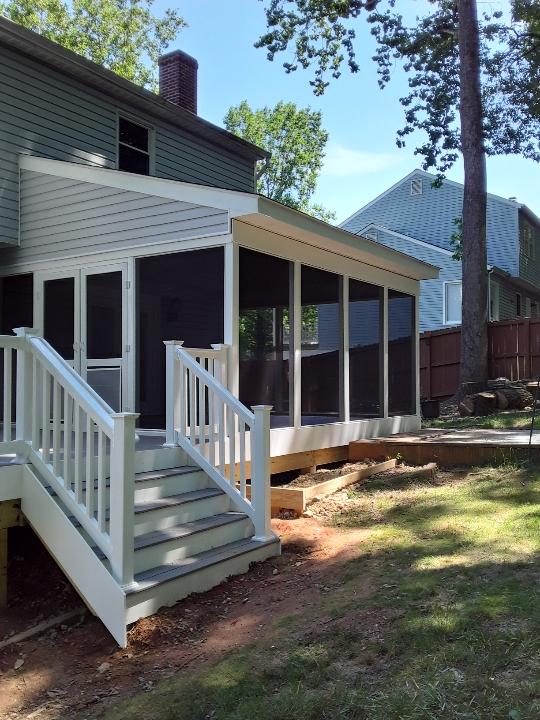
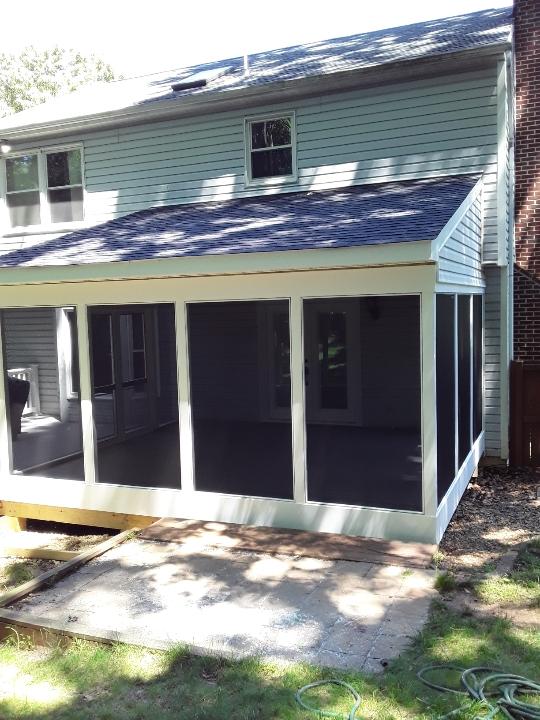
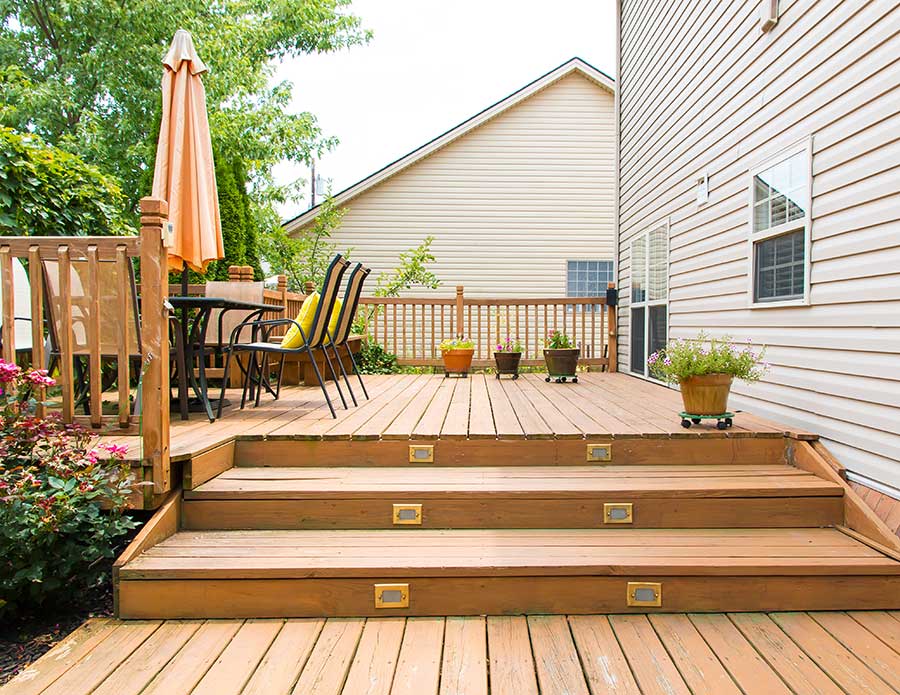
Deck and Patio Construction
Create the perfect outdoor living space with our custom deck and patio construction services. From design to installation, we build beautiful, functional outdoor areas that complement your home and lifestyle. Choose from a variety of materials and styles to enjoy a stylish and comfortable space for entertaining or relaxation.
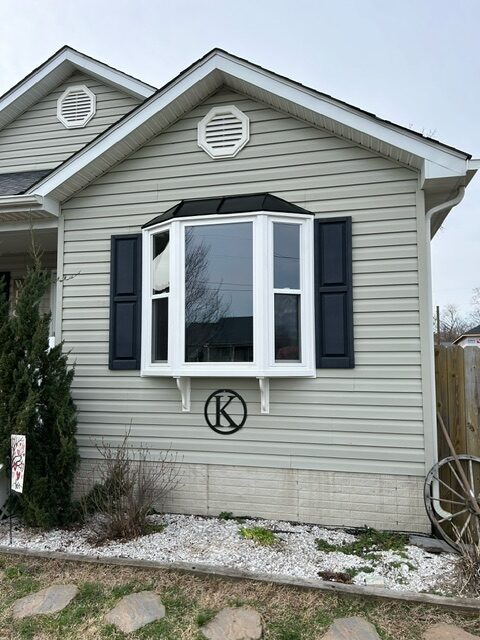
Siding Installation and Replacement
Enhance the curb appeal and protection of your home with our expert siding installation and replacement services. We offer a range of high-quality materials, including vinyl, fiber cement, and wood, each designed to improve insulation and durability while giving your home a fresh, updated look.
Exterior Painting and Finishing
Revitalize your home's exterior with our professional painting and finishing services. We use high-quality paints and finishes to enhance your home's appearance and protect it from the elements. Our meticulous process includes surface preparation, precise application, and thorough clean-up, resulting in a fresh and enduring finish.
Why Choose S&K Remodeling for Your Exterior Renovations?
Choosing S&K Remodeling for your exterior projects means partnering with experts dedicated to enhancing the beauty and functionality of your home’s exterior. With years of experience, we offer comprehensive services, including siding replacement, roofing, windows, doors, and landscaping. Our team uses high-quality materials and innovative design solutions to ensure your home looks stunning and stands up to the elements. We prioritize your satisfaction, working closely with you to bring your vision to life and boost your home’s curb appeal. Transform your home’s exterior—contact S&K Remodeling to schedule a consultation and start your project today.
discover what our clients have to say
For inquiries, or to schedule a free estimate with S&K Remodeling please contact us
Ready to experience S&K’S services? Fill out the form, and our dedicated team will get back to you promptly. Let us know your needs, and we’ll tailor our solutions to exceed your expectations.